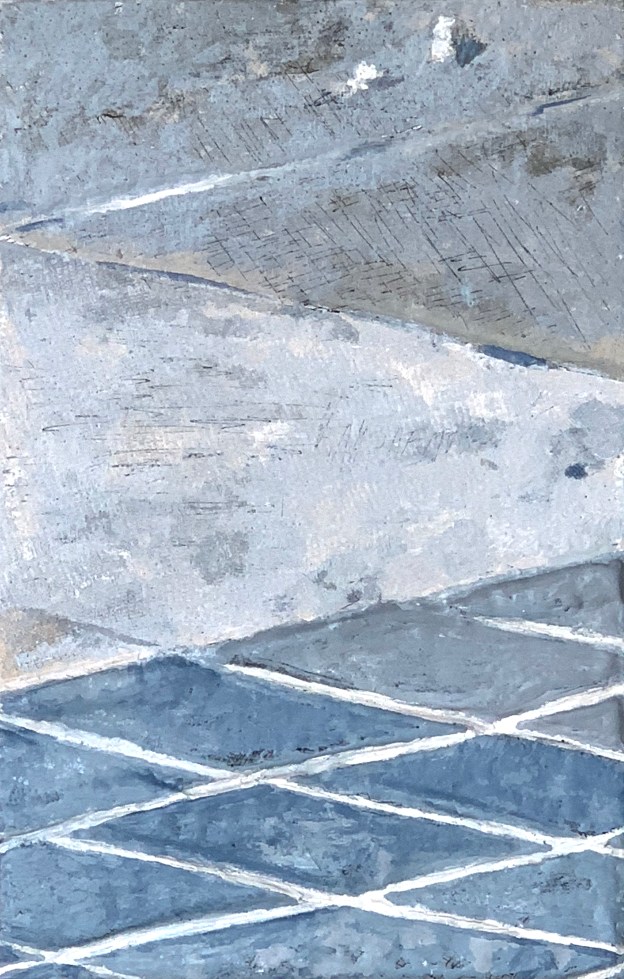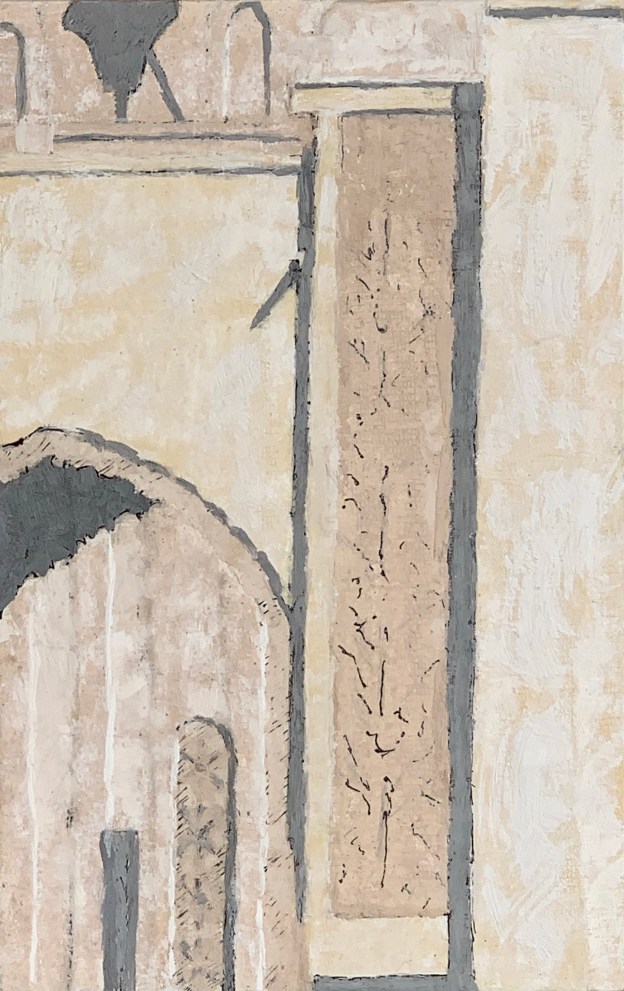

A Piece of Me #28, underdrawing in pen and ink.

A Piece of Me #28, imprimatura and underpainting.
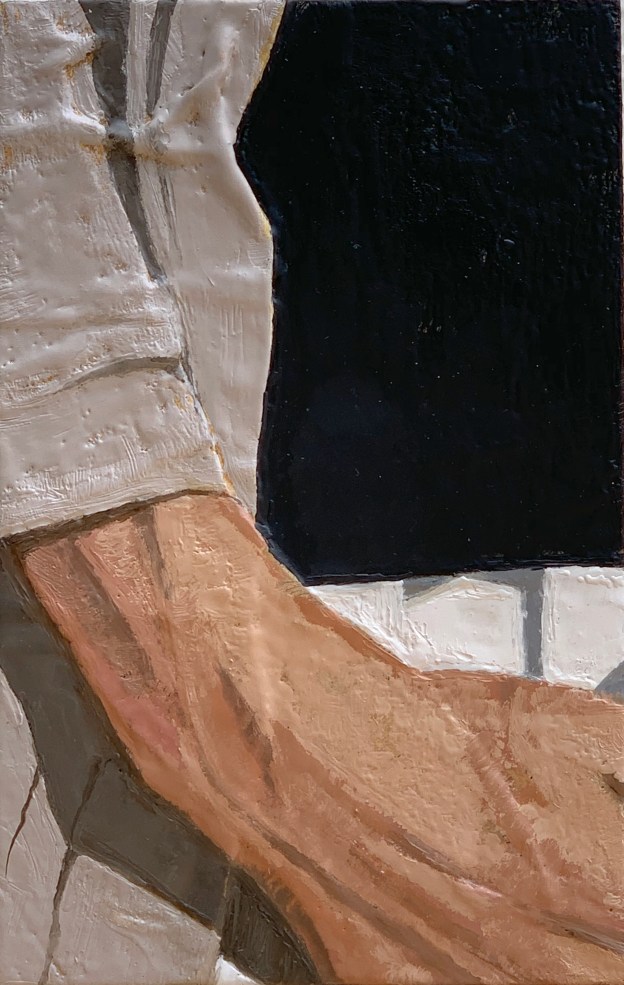
This is/was such an interesting panel to do! The design call-out for it was collage and encaustic. Two very textural and graphic media. You put the two together and the effect can be exponential. On top of that, it was a strong composition: strong contrasts of black (shirt) and white (pants). Gestural elements of a wavy linen coat flowing into a resting but sculpted hand. I enjoyed the result at each step along the way. The finished collage was enticing (no photo of that); the underdrawing phase, too (see above, left). I could almost feel that hand. Well, of course I could since it’s mine, still it was being objectified in black and white. So from the beginning his particular panel reinforced my goal for the overall project, I want it to speak viscerally to the viewer.
To begin the encaustic phase I laid in a coat of yellow ochre and proceeded to melt it back off. This had the effect of unifying everything in a golden imprimatura glow. Unsurprisingly the melt off accentuated the textures of the collage, creating white ridges. See the side-lit photograph above, right. Then I painted a green tone to the skin and melted it back off, too. Again, see the hand in the photo above, right. This concluded my prep.

A Piece of Me #28, encaustic over collage on panel. 21 x 13.3 cm or 5 1/4 x 8 1/4 in.
With the exception of the skin tone, the black shirt, white pants and linen jacket went quickly and were pretty straightforward. That was because so much textural variation had already been built into the under layers. However, achieving a variegated chiaroscuro skin tone of the hand in encaustic was more difficult than one might imagine. I opted for creating a sculpted, veined hand in variants of warm and cool tonalities. The result reads well enough for my purposes. Though I must say I had increased respect for those Fayum mummy painters of old.
Somewhat surprisingly, the biggest challenge arrived in the “burning-in” phase. This phase happens when you have completed your painting but you still need to rewarm/remelt the whole surface in order to fuse the paint to the panel. I use a hand held heating lamp for this step. However, because it is a collage, the surface is heavily sculpted: it is not flat. The wax melted and pooled in ways “retrograde to my desire”. Edges blurred. Contrasts merged. So I had some clean up to do after the burn-in. No problem, a small scraping tool along with the little encaustic pen (with its drawing and painting attachments) could be pressed into service. Once completed, I was ready to hang up my guns and call it a day (or two).
Technical write up of using encaustic for an indirect painting technique here.